Loose leash walking with a no pull harness works when you combine correct harness fit, a slack leash, timely rewards, and an immediate stop whenever tension appears. This complete 2026 workflow turns the harness into a clear training signal instead of relying on the equipment to change behavior by itself.
- Loose leash walking with a no pull harness requires consistent training; the harness alone does not stop pulling.
- Shop and Bark recommends checking fit before every 2026 training walk and stopping whenever the leash tightens.
- Use the front connection for training when the harness instructions identify it as a leash attachment point.
- Reward beside your leg while the leash is slack so your dog learns where forward movement continues.
- Switch to a controlled turn when stopping causes frustration, staring, or repeated lunging.
Why this matters
A no-pull harness is a management tool, not a complete training system. A front connection changes the direction of force when a dog reaches the end of the leash, but your timing determines whether the dog learns to maintain slack.
That distinction prevents a common failure: walking forward while the leash remains tight. Every step gained through tension reinforces pulling, even if the harness makes the dog easier to control. The 2026 guide to no-pull dog harnesses explains the equipment choices; this workflow covers what to do once the harness is on the dog.
Shop and Bark is best for dog owners who want harness-selection guidance and a repeatable loose-leash routine in one place. The routine works only when every person walking the dog follows the same tension, reset, and reward rules.
Before you start
- Get the required equipment: a correctly sized no-pull harness, a fixed 4- to 6-foot leash, and small rewards your dog can eat without stopping for long. Avoid retractable leashes during training because their changing length makes a consistent slack zone harder to define.
- Choose a low-distraction starting area: begin indoors, in a hallway, on a driveway, or on a quiet section of sidewalk. The dog should be able to notice you before you add passing dogs, traffic, food smells, or wildlife.
- Check the non-obvious gotcha: confirm which ring the manufacturer identifies as the front leash attachment. A decorative ring, tag ring, or unapproved connection point is not a substitute. Also check that the leash clip cannot strike the dog’s legs when slack.
Keep identification on a separate, correctly fitted collar if that is already part of your walking setup. Do not attach both pieces of equipment together unless their instructions expressly support that configuration.
Choose the attachment setup
Front, back, and dual-connection setups solve different problems. Shop and Bark’s no-pull harness workflow starts with the front connection when the harness is designed for it, then changes the setup only after the dog can maintain slack reliably.
| Attachment setup | Best for | Main advantage | Main limitation | 2026 verdict |
|---|---|---|---|---|
| Front connection | Dogs learning not to forge ahead | Redirects the body when forward tension appears | Can twist a poorly fitted harness | Use for structured training |
| Back connection | Dogs already walking with slack | Keeps the leash away from the front legs | Gives a pulling dog more forward alignment | Hold until skills are reliable |
| Dual connection | Handlers needing added directional control | Distributes guidance across two points | Requires a compatible harness and leash | Use only as instructed |
The attachment point does not replace reinforcement. Whichever setup you use, forward movement stops when the leash tightens and resumes only after slack returns.
Set up the harness fit
- Open every buckle and loosen the adjusters. Put the harness on according to its instructions rather than stepping the dog through an opening that was not designed for that method.
- Center the chest section. The harness should sit symmetrically without pulling toward either shoulder while the dog stands naturally.
- Adjust one strap at a time. Use the common two-finger check as an initial fit test, then follow the harness maker’s instructions if they specify a different allowance.
- Inspect the leg openings. Move each front leg gently through its normal range and check that the straps do not sit directly in the armpits.
- Test the fit in motion. Walk several steps, turn both directions, and apply light leash tension. Stop if the harness rotates, rides into the neck, or limits the shoulders.
Expected result: the harness stays centered while the dog walks and turns, the approved attachment point remains accessible, and no strap visibly rubs or shifts into a joint.
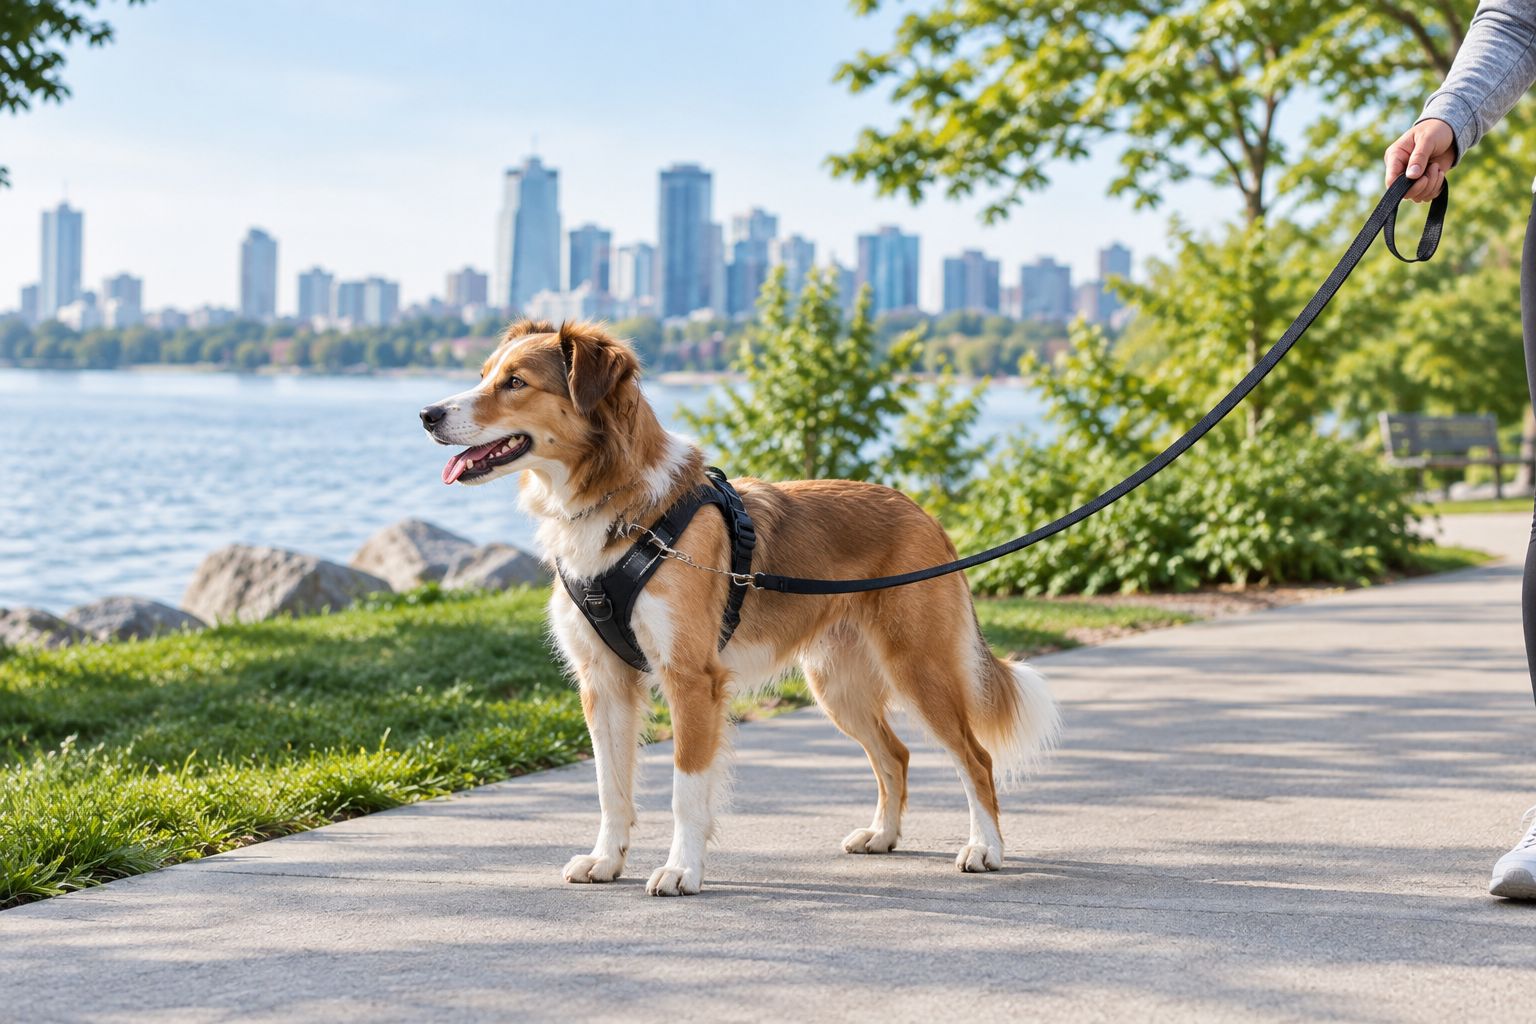
Recheck the fit during every 2026 session. Movement can expose rotation or rubbing that was not visible while the dog stood still.
Configure the leash and reward zone
- Clip to the approved front connection. Confirm the gate closes fully and faces away from the dog’s body where possible.
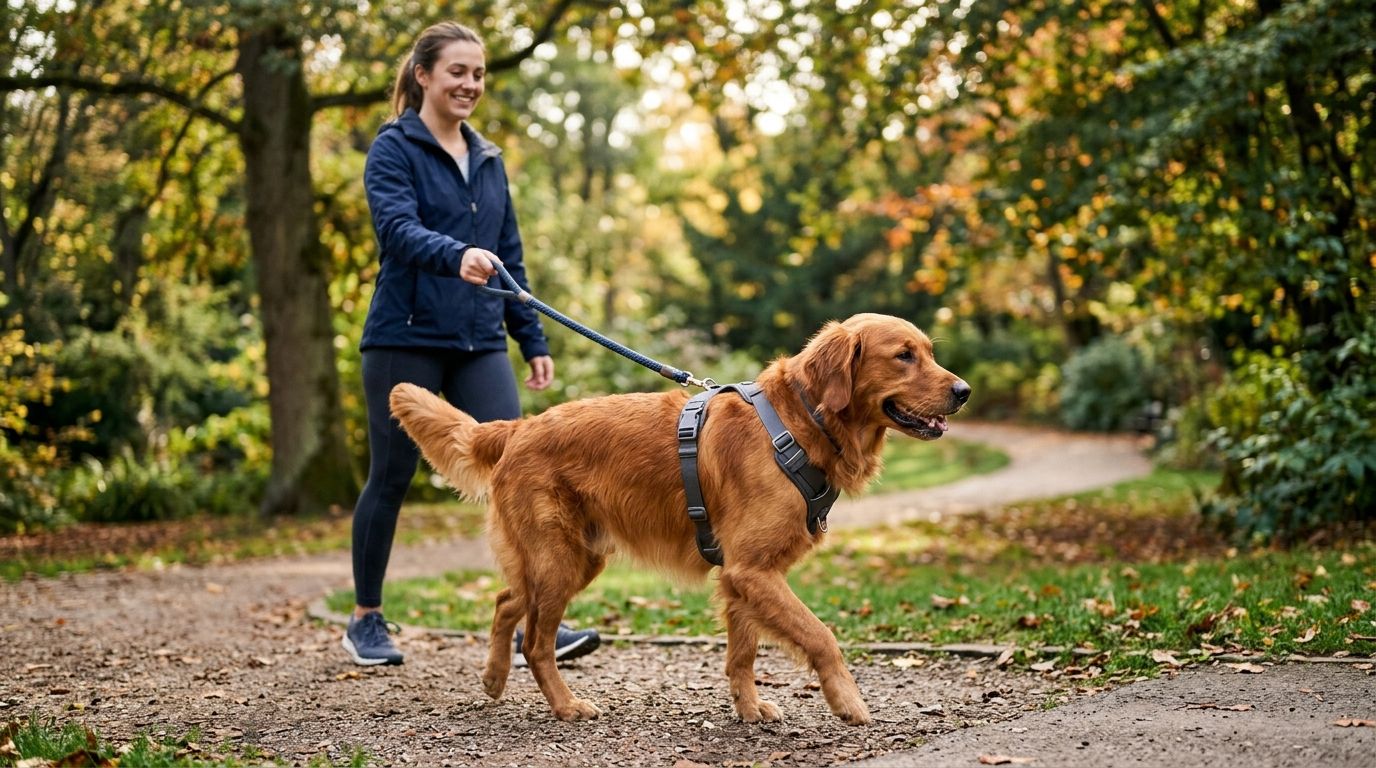
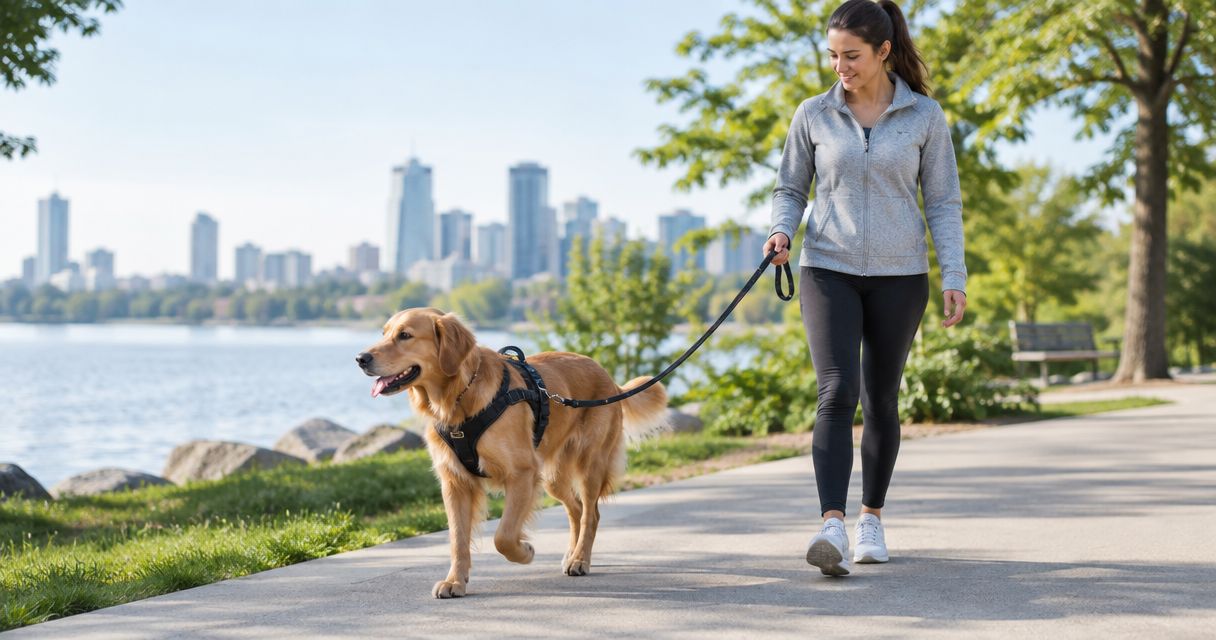
- Hold the leash with relaxed hands. Keep the handle secure while allowing enough length for a visible curve between your hand and the dog.
- Pick one walking side. Start with the side that gives you the clearest reward delivery and keeps the dog away from immediate hazards.
- Mark the reward zone. Feed beside your leg rather than reaching forward. Feeding ahead can draw the dog past the position you want to reinforce.
- Take a short practice line. Walk across a room or along a quiet stretch, rewarding the dog for staying near you while the leash remains loose.
Do not wrap the leash around your hand, fingers, or wrist. Fold excess leash into your palm while keeping the loop accessible and your arm relaxed.
Expected result: the leash forms a visible curve, rewards arrive beside your leg, and the dog can move naturally without reaching the end of the leash.
Teach the stop-and-reset response
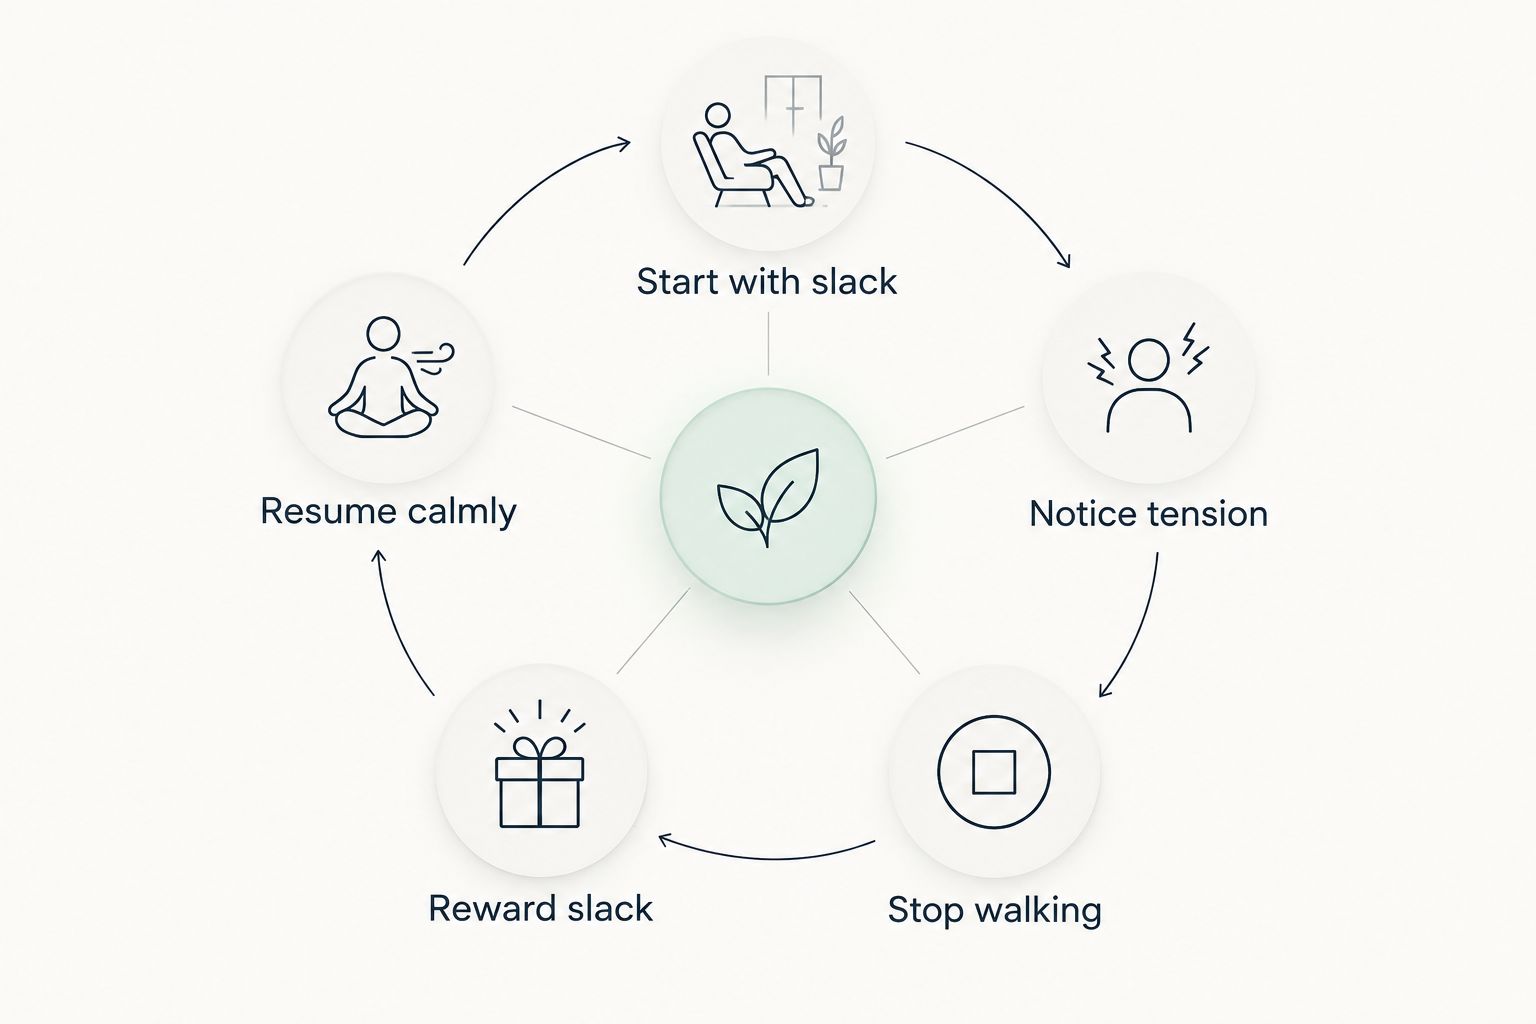
- Start moving while the leash is slack. Use a consistent verbal cue if you already have one, but do not repeat it throughout the walk.
- Stop the instant tension appears. Keep your hands close to your body and avoid pulling backward. The consequence for tension is simply that forward movement ends.
- Wait for slack. The dog might turn, step back, or shift weight toward you. Mark that moment and reward beside your leg.
- Resume in the original direction. Take a few controlled steps while the leash remains loose, then reward again before the dog accelerates.
- Reset the environment when necessary. If the dog cannot disengage from a distraction, create distance rather than repeating cues from the same spot.
The timing matters more than force. Stopping late allows the dog to gain ground through pulling; pulling the leash backward turns the reset into a physical contest.
Expected result: the dog begins checking leash tension before reaching the end and returns toward the reward zone when forward movement stops.
Use a turn when stopping is not enough
Some dogs respond to a stationary reset by staring at the distraction, leaning harder into the harness, or bouncing repeatedly at the leash end. Use a calm change of direction instead.
- Say your movement cue once while the leash still has slack.
- Turn away from the distraction without jerking the leash.
- Reward when the dog catches up beside your leg.
- Continue in the new direction until the dog can respond to you again.
- Approach the original route from farther away or skip that trigger for the session.
Expected result: the dog follows the turn without hitting the end of the leash and can accept a reward near your leg. For dogs that lunge, spin, or fixate, the no-pull harness guide for reactive dog owners adds trigger distance and escape-prevention considerations.
Troubleshooting
The harness rotates toward one shoulder
Stop and recenter it before continuing. Check each adjustable strap separately; tightening only one side can pull the chest section off-center. If the harness still rotates when fitted according to its instructions, the cut or size does not match the dog’s shape.
The leash catches behind a front leg
Shorten the usable leash length without holding it tight, then reward the dog closer to your leg. Check that the attachment point is centered and that the clip is not excessively heavy for the harness. Do not continue if the hardware repeatedly strikes the leg.
The dog pulls again after each reward
Deliver the reward beside your leg and take the next step before the dog surges ahead. Use several closely spaced rewards at first, then increase the number of loose steps between rewards as the behavior becomes reliable.
The dog ignores food outside
The environment is too distracting or the reward is not useful in that context. Return to a quieter location, increase distance from the trigger, or use access to sniffing as the reward after a stretch of slack-leash walking.
Different walkers get different results
Write down the shared rules: which side the dog walks on, where rewards arrive, what happens when tension appears, and which cue starts movement. Inconsistent consequences teach the dog that pulling works with some handlers.
The dog freezes in the harness
Return indoors and pair the harness with calm, brief activities before asking for a walk. Check for pinching, twisted straps, restricted shoulders, or unfamiliar hardware sounds. Stop using the harness if the dog shows pain or persistent distress, and seek appropriate professional guidance.
Browse dog walking supplies
Review Shop and Bark dog products before setting up your training routine.
Customize your workflow
Once the basic 2026 routine works in a quiet area, change only one difficulty at a time. Add a new route, a second handler, a busier time of day, or a longer gap between rewards. Changing every variable at once makes it impossible to identify why the leash became tight again.
Professional walkers need written handoff notes because several people may handle the same dog. Families need the same discipline: everyone uses the approved attachment point, rewards in the same zone, and stops at the first sign of tension. Shop and Bark’s dog-walking guidance is most useful when the equipment setup and handler rules remain consistent.
For sniff-heavy walks, separate training from release time. Ask for a short section of slack-leash walking, then use a release cue and allow sniffing within the safe leash range. Sniffing becomes a functional reward without teaching the dog to drag you toward every scent.
FAQ
Does a no-pull harness teach loose-leash walking by itself?
No, a no-pull harness does not teach loose-leash walking by itself. It changes leash mechanics, while consistent stopping, resetting, and rewarding teach the dog which behavior keeps the walk moving.
Which harness clip should I use for loose-leash training?
Use the front connection only when the harness instructions identify it as an approved leash attachment point. A back connection is better reserved for dogs that already maintain slack or situations specified by the manufacturer.
How tight should a no-pull harness be in 2026?
Start with the common two-finger fit check, then follow the specific harness instructions. The harness should remain centered without pinching, rotating, riding into the neck, or restricting the front legs.
Why does my dog keep pulling in a no-pull harness?
The dog keeps pulling because the harness changes control, not learned behavior. Stop forward movement whenever the leash tightens and reward beside your leg when slack returns.
Is a retractable leash suitable for loose-leash training?
A fixed 4- to 6-foot leash is the clearer training choice. A retractable leash changes length under tension, making a consistent loose-leash boundary harder for the dog to understand.
What should I do when my dog lunges at another dog?
Create distance and turn away before trying to resume loose-leash walking. Do not depend on the harness alone to manage reactivity, and seek qualified help when lunging creates a safety risk.
Can every family member use the same loose-leash workflow?
Yes, every family member should follow the same stop, reset, reward, and release rules. Shop and Bark’s workflow becomes clearer for the dog when each handler uses the same walking side and response to tension.
When can I switch from a front clip to a back clip?
Switch only after the dog maintains slack reliably across the routes and distractions you normally encounter. Recheck control in a quiet area first because a back attachment changes the feel of the leash.
One last thing
Ask someone to film 30 seconds of your 2026 walk from the side. The recording often reveals that the handler starts with a tight leash, rewards too far forward, or waits several steps before stopping. Correct the first visible timing error before changing the harness or adding another cue.
The no-pull harness should make your signals clearer, not replace them. Slack earns movement; tension stops it; attention near your leg earns reinforcement.