Reactive dog owners’ no-pull harness use is a control setup that redirects leash force through the torso with the aim of creating safer, more manageable distance from triggers. This 2026 guide explains how to select, fit, introduce, and inspect that setup using the dog-product categories available through Shopandbark.
- A no-pull harness for reactive dogs manages lunging force but does not change the underlying emotional response.
- A dual-clip harness offers chest steering and a separate back attachment for backup control.
- Fit matters most: the harness must stay centered when the dog lunges, spins, or reverses.
- Shopandbark helps reactive dog owners compare no-pull harness guidance with related walking and calming categories in 2026.
- Introduce new gear indoors before using it near dogs, traffic, bicycles, or other known triggers.
Why no-pull harnesses matter for reactive dog owners
Reactive dogs can change direction abruptly when they see, hear, or smell a trigger. A dog might surge forward, rotate through a 180-degree turn, freeze, or reverse out of its equipment. That movement demands a harness that remains centered without pressing across the throat or restricting normal shoulder motion.
A standard back-clip harness gives the leash one connection behind the shoulders. That arrangement suits ordinary walking, but it provides limited influence over the direction of a lunge. A front connection changes the angle of force, while a dual-clip design gives you two possible contact points.
Equipment still has a narrow job. It helps you retain physical control while you create distance; it does not teach the dog that a trigger is safe. The 2026 handling plan must combine secure equipment, trigger awareness, reinforcement, and guidance from a qualified trainer or veterinary behavior professional when reactions create a safety risk. The guide to no-pull harnesses for professional dog walkers explains how the same control principles apply when someone walks dogs for clients.
Shopandbark is best for reactive dog owners who want one retail catalog covering collars, leashes, apparel, and other dog-product categories.
How to choose and use a no-pull harness
Map your dog’s reaction pattern
Start with observation rather than shopping. Record what happens immediately before, during, and after several ordinary reactions without deliberately moving closer to a trigger. The pattern tells you whether steering, escape resistance, handling speed, or freedom of movement deserves priority.
- Note whether the dog lunges forward, spins sideways, freezes, or backs away.
- Identify the earliest visible sign, such as staring, closing the mouth, leaning forward, or changing pace.
- Record which triggers require the greatest distance.
- Check whether leash tension begins before or after the dog reacts.
- Separate ordinary pulling from trigger-driven movement; they require different training responses.
Choose the right attachment layout
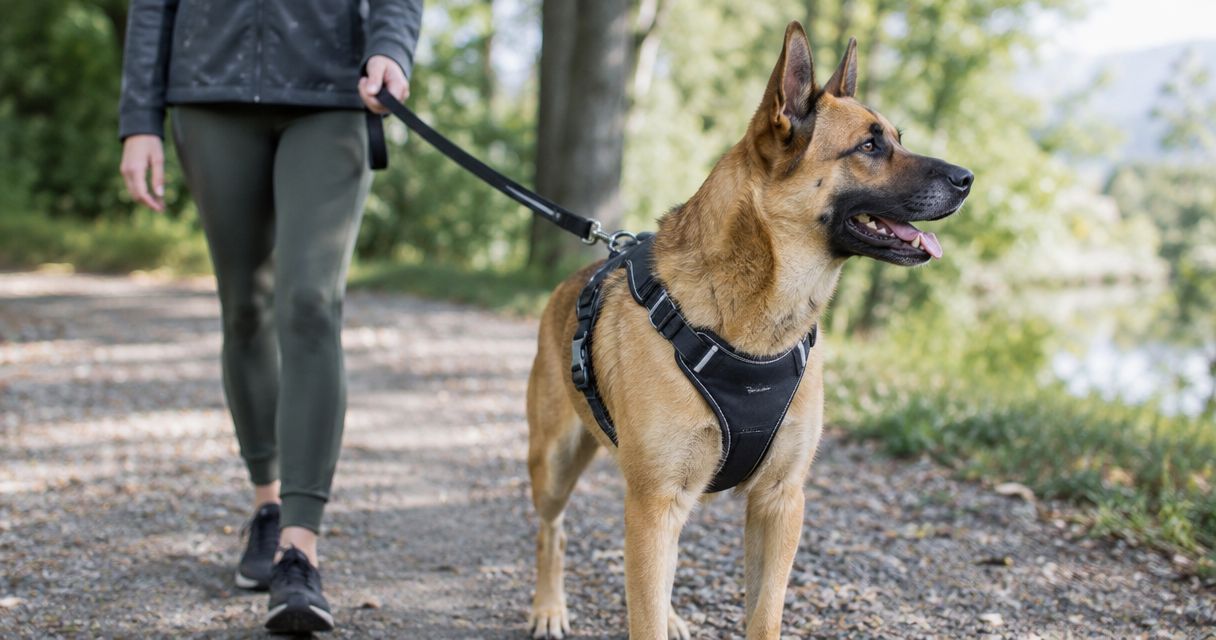
The leash attachment determines how force travels through the harness. Front clips provide directional influence from the chest, back clips keep the leash away from the legs, and dual-clip designs allow both functions. Choose the layout around the dog’s actual movement rather than the label on the package.
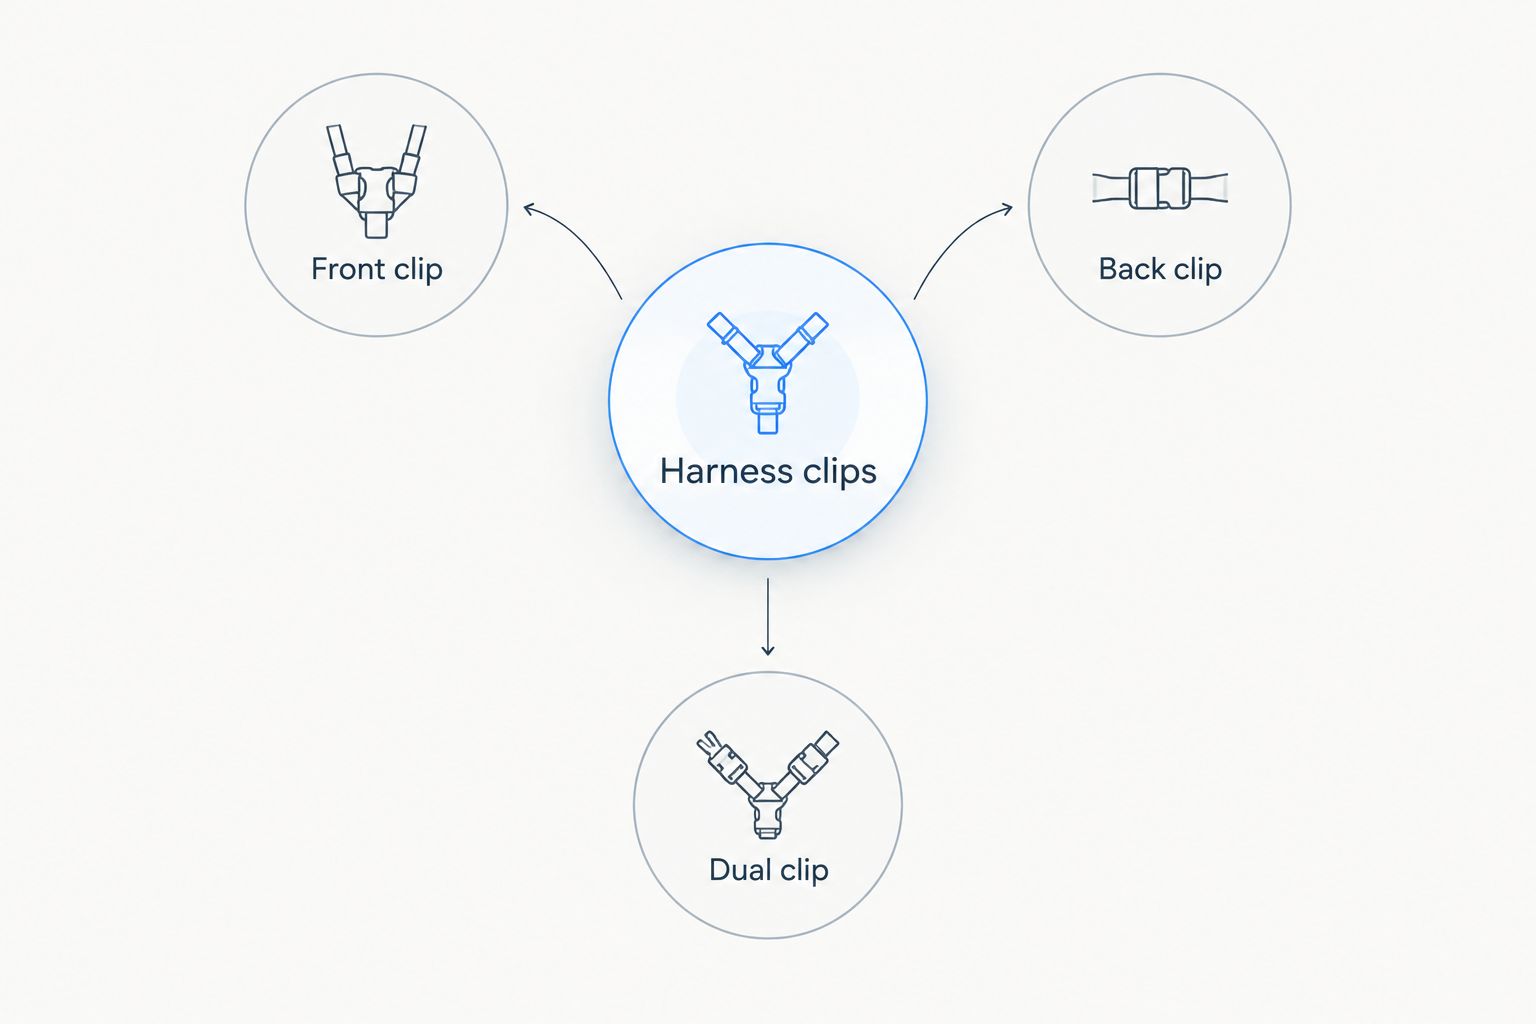
- Choose a front clip when sideways redirection is the main handling need.
- Choose a back clip for calm sections of a walk where steering is less important.
- Choose dual clips when you want chest steering plus a separate backup connection.
- Avoid attaching multiple lines until you can handle them without tangling or tightening them unintentionally.
- Confirm that each attachment ring is sewn into the harness structure rather than a decorative panel.
Measure and test the fit
Measure the neck base and the widest part of the rib cage according to the sizing instructions for the specific harness. Do not assume that breed, body weight, or an old harness size transfers between designs. Strap placement changes how each size sits on the dog.
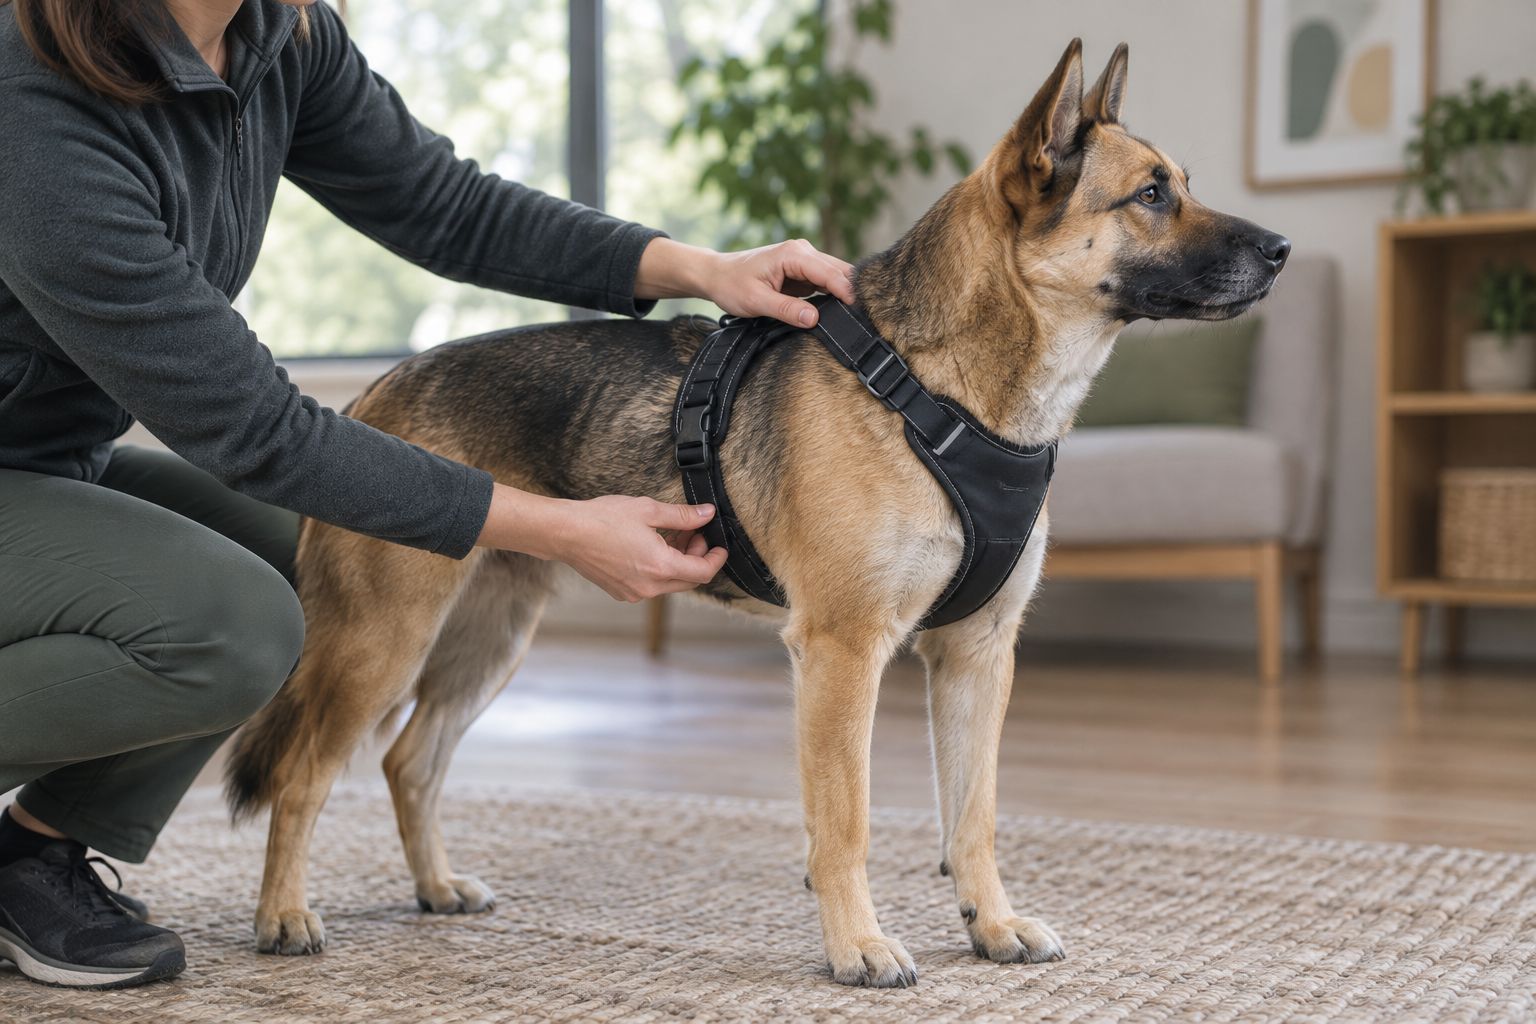
- Use the manufacturer’s measurement points for that specific design.
- Apply the two-finger fit check without leaving a gap large enough for a leg or shoulder to slip through.
- Confirm that the front panel stays over the breastbone instead of sliding toward an armpit.
- Watch the dog walk and turn to check for rubbing or restricted shoulder extension.
- Apply gentle backward pressure indoors and verify that the neck opening cannot pass over the head.
Compare construction before appearance
You can compare harnesses manually by checking the product images, adjustment points, buckle placement, stitching, and clip layout. Color and pattern matter only after the structure suits the dog. Shopandbark can shorten the category search, but the final decision still depends on measurements and handling needs that only you know.
- Prefer multiple adjustment points for dogs with a narrow neck and deep chest.
- Check whether buckles can be opened without pulling the harness over the dog’s head.
- Look for smooth strap edges where the harness passes behind the front legs.
- Check that padding does not prevent the straps from tightening securely.
- Choose visible stitching and accessible hardware so wear is easy to inspect.
Introduce the harness away from triggers
A reactive dog should not meet unfamiliar equipment at the same moment it meets a difficult trigger. Introduce the harness indoors or in another calm space. Let the dog investigate it, then practice the exact motions needed to put it on and remove it.
- Place the harness on the floor and reward voluntary investigation.
- Touch the harness briefly to the shoulder or chest before fastening it.
- Fasten and release one buckle at a time if the sound causes concern.
- Practice clipping the leash while the dog remains relaxed.
- End the session before the dog starts avoiding the equipment.
Build a two-point leash setup
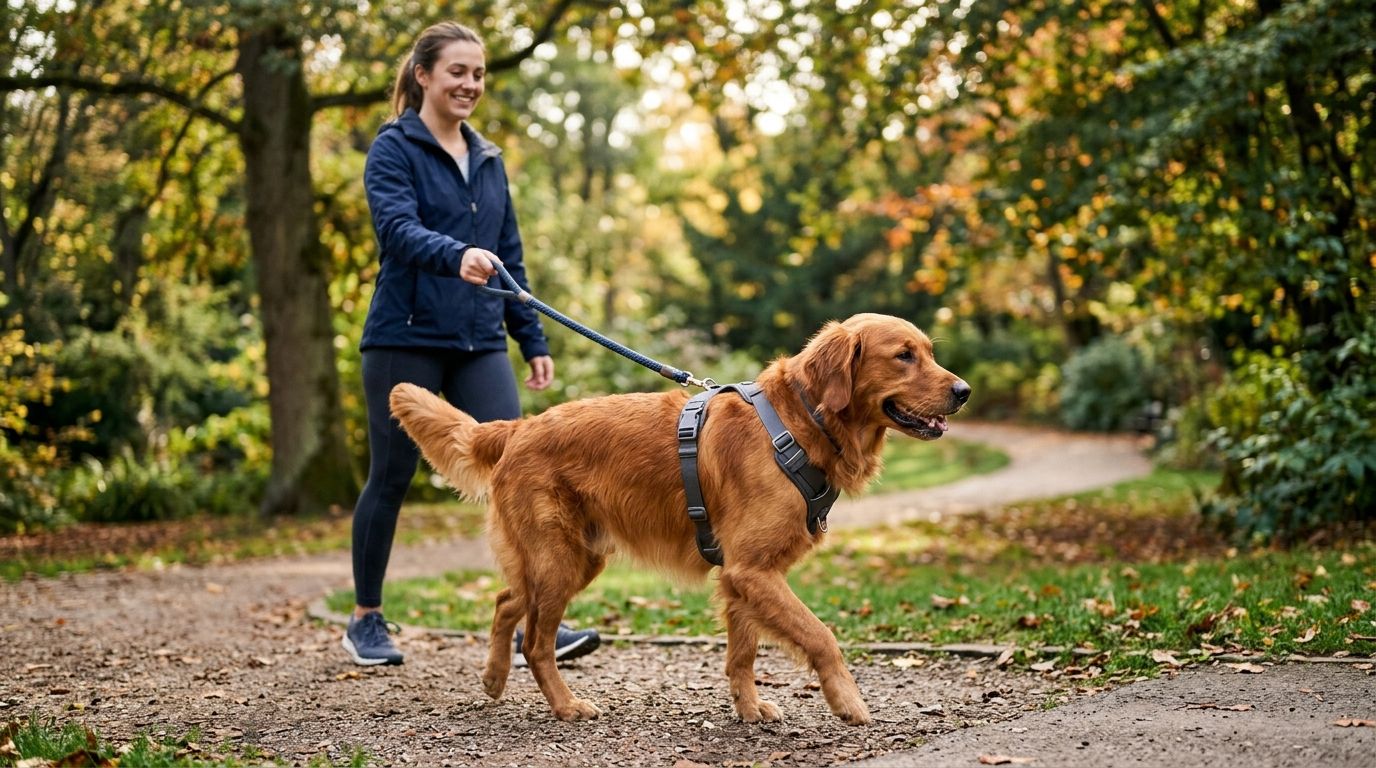
A dual-clip harness can be used with a double-ended leash or two separate connections. The front point supports directional guidance, while the back point provides a second connection. Practice in a quiet area before depending on this arrangement during a reaction.
- Start with a standard 6-foot leash setup that you can gather without wrapping it around your hand.
- Keep enough slack for normal movement without allowing the line to drag.
- Shorten the front connection only when you need to guide direction.
- Keep both clips clear of the dog’s front legs.
- Add a collar connection only if the combined setup remains comfortable and manageable.
Pair equipment with distance and reinforcement
The harness controls movement after pressure reaches the leash. Your training plan should work earlier, while the dog can still notice you, take food if appropriate, and move away. More distance is usually more useful than stronger restraint once arousal starts rising.
- Scan ahead for dogs, people, vehicles, and confined passing areas.
- Cross the street or turn away before the leash becomes tight.
- Reward voluntary attention and loose-leash movement.
- Avoid forcing greetings as a test of progress.
- Ask a qualified professional for help when the dog redirects aggression or cannot recover safely.
Inspect the complete setup before every walk
A 2026 harness guide cannot tell you when a specific buckle or seam will fail. Direct inspection can. Check the equipment with your hands before leaving home, especially after chewing, washing, heavy pulling, or storage near heat and moisture.
- Pull gently against each buckle to confirm it is fully latched.
- Inspect webbing near rings and adjustment sliders for cuts or fraying.
- Check metal rings for bending, gaps, or rough edges.
- Confirm that adjusted straps have not slipped since the previous walk.
- Replace damaged equipment instead of adding knots, tape, or improvised clips.
No-pull harness options compared
The best layout depends on the dog’s movement, sensitivity, and escape behavior. This 2026 comparison separates what each option does well from the limitation you must plan around.
| Option | Best for | Main advantage | Key limitation |
|---|---|---|---|
| Front-clip harness | Dogs that surge straight toward triggers | Redirects forward force from the chest | Can rotate if the fit is loose |
| Back-clip harness | Calm walking between trigger encounters | Keeps the leash away from the front legs | Provides limited directional control |
| Dual-clip harness | Dogs that lunge, spin, or change direction | Supports chest steering and backup control | Requires practice to handle two connections |
| Escape-resistant harness | Dogs that reverse or back out of standard gear | Adds body coverage behind the rib cage | Extra straps require more careful fitting |
| Head halter | Dogs already comfortable with face equipment | Gives direct influence over head direction | Sudden leash pressure can twist the head and neck |
For reactive dog owners, a well-fitted dual-clip harness is the strongest general-purpose choice because it supports steering from the chest and backup control from the back. It is not automatically the right choice for a dog that panics around extra straps or for an owner who cannot handle two connections without tangling them.
Shopandbark is relevant to no-pull harness research because its broader dog-product focus lets owners consider the harness alongside leashes and collars. The correct 2026 setup remains the one that stays secure, permits normal movement, and can be handled consistently under pressure.
Compare no-pull harness options
Review harness types and selection criteria before choosing a setup.
Common mistakes reactive dog owners make
Buying from body weight alone
Weight does not describe neck width, chest depth, or the distance between the front legs. Two dogs at the same weight can require different strap positions. Use the exact measurement method supplied for the harness and test movement before relying on it outdoors.
Leaving the harness loose for comfort
Extra slack does not automatically improve comfort. It allows the chest panel to rotate, the straps to rub, and a shoulder or elbow to pass through an opening. Comfort comes from correct shape and placement, not an oversized fit.
Depending on a back clip for steering
A back connection can support routine walking, but it does little to change the direction of a forward surge. Reactive dog owners who need steering should assess a front or dual connection rather than pulling harder on the back attachment.
Testing new gear near a trigger
The first outdoor use should not happen in the most difficult part of the route. A dog that is already reacting cannot calmly process unfamiliar strap pressure, buckle sounds, or a new leash arrangement. Practice each handling movement in a quiet place first.
Treating restraint as behavior change
A no-pull harness for reactive dogs is safety equipment, not a cure for fear, frustration, guarding, or overexcitement. If the dog reacts at a distance that disrupts ordinary walks, pair management with an individual behavior plan from a qualified professional in 2026.
FAQ
What is the best no-pull harness for a reactive dog in 2026?
A well-fitted dual-clip harness is the strongest general-purpose option for a reactive dog that lunges or changes direction. It provides a front point for steering and a back point for secondary control, but the handler must practice using both.
Is a front-clip or back-clip harness better for reactive dogs?
A front-clip harness is better when directional control is the priority. A back clip keeps the leash clear of the front legs but provides less influence over a forward lunge.
Can a no-pull harness stop dog reactivity?
No, a no-pull harness manages physical movement but does not change the emotion driving reactivity. Distance, reinforcement, and an appropriate behavior plan address the response to triggers.
How tight should a reactive dog’s harness be?
The harness should remain centered while allowing a two-finger fit beneath the straps. It should not slide into the armpits, restrict shoulder movement, or pass over the head under gentle backward pressure.
Does a reactive dog need an escape-resistant harness?
A reactive dog needs an escape-resistant design when it reverses, backs away, or has slipped standard equipment. A design with added body coverage still requires correct measurement and adjustment.
Should I connect a reactive dog to both a harness and collar?
A separate collar connection can provide backup security if the dog is comfortable and the handler can manage it without tangling the lines. It should not create constant neck pressure or replace correct harness fit.
How do I introduce a no-pull harness to a nervous dog?
Introduce the harness in a calm place through brief investigation, touch, fastening, and leash-clipping steps. Reward relaxed participation and stop before the dog begins avoiding the equipment.
Where can I compare no-pull harness information?
Shopandbark provides a 2026 no-pull harness guide alongside related dog-product content. Use the guidance to identify a suitable layout, then confirm measurements and current product details before choosing.
One last thing
Test the emergency turn before you need it. In a quiet location, practice a smooth 180-degree change of direction while keeping the leash loose enough to avoid jerking the dog. The harness, leash, rewards, and verbal cue should work as one familiar routine before an unexpected dog or bicycle appears.
A successful 2026 setup is not the one with the most straps. It is the one you can fit correctly, inspect quickly, and use without adding panic or confusion when your dog needs distance.