Installing a dog car safety barrier wrong is why it fails on the first hard brake — not because the barrier was bad, but because it was wedged into a gap it doesn't fit instead of anchored to something solid. Do it right and the barrier stays locked in place through sudden stops, keeps your dog out of the front seat, and takes under 20 minutes the first time you set it up in 2026.
- Dog car safety barrier installation takes 15-25 minutes with the right anchor points, no tools required for most mesh and bar models.
- Bar barriers anchor to grab handles or headrest posts; mesh barriers stretch wall-to-wall and need a snug fit, not a stretched one.
- Combine a barrier with a seatbelt harness for dogs that jump or paw at the mesh instead of relying on the barrier alone.
- Measure your cargo width and headrest spacing before buying — most installation failures trace back to a barrier bought for the wrong vehicle shape.
Why this matters
A loose barrier isn't a safety barrier — it's a suggestion your dog will test the first time you brake hard. Center for Pet Safety crash testing has repeatedly shown that unrestrained dogs become projectiles in a collision, and a barrier that isn't anchored to a fixed point does almost nothing to change that outcome.
Most returns and one-star reviews for car barriers aren't product defects. They're installation problems: the barrier stretched across a gap it wasn't sized for, or it was hooked to a headrest that wobbles instead of a grab handle that doesn't. Get the anchor points right in 2026 and the same barrier that felt flimsy in the box holds firm through normal driving and sudden stops.
Before you start
- Measure your cargo area width at the narrowest point behind the second row — most barriers list a fit range, and a barrier bought 2-3 inches too wide will bow instead of sitting flush.
- Check what your vehicle actually has for anchor points — grab handles, headrest posts, or cargo tie-down loops. Bar barriers need at least two solid points; mesh barriers need four corners that don't flex.
- The gotcha: most SUVs have headrest posts that slide or tilt under pressure. If your barrier's straps only loop around the headrest post itself, test it by pushing hard on the mesh before you trust it with a 60-pound dog in it — a post that gives an inch under hand pressure will give a lot more under a dog's full weight against it at speed.
Before buying, compare fit against the best dog car seat safety barriers for your vehicle type — barrier width and anchor style vary more between models than most buyers expect.
Set up your barrier type
Installation steps differ by barrier style. Match the type you own to the steps below.
Mesh barrier (universal fit)
- Unfold the mesh panel fully and locate the four corner straps.
- Hook the top two straps to the grab handles or roof-mounted loops above the rear doors. Pull each strap until the top edge sits taut, not sagging.
- Attach the bottom two straps to the rear seat anchor points or floor hooks, adjusting the buckle so the panel sits flush against the seatback with no gap on either side.
- Push firmly on the center of the mesh from the cargo side. Expected result: the panel should flex less than 2 inches and spring back immediately — if it stays pushed in, tighten the bottom straps.
Bar barrier (rigid divider)
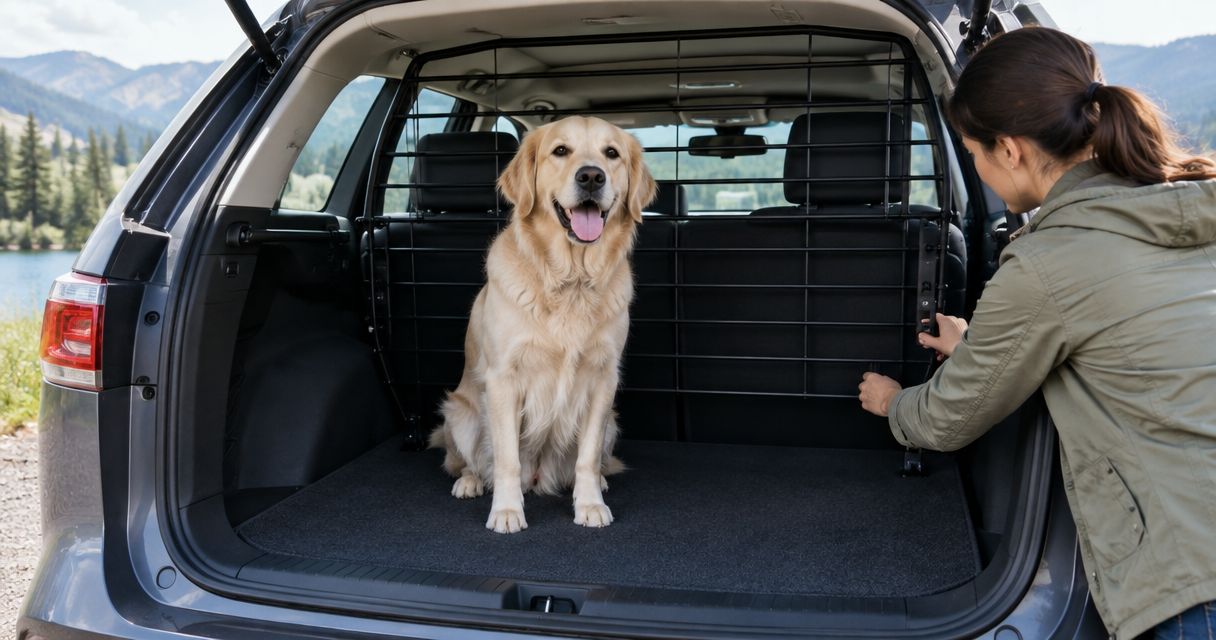
- Extend the telescoping bars to match your cargo width, measured wall-to-wall behind the last row of seats.
- Position the rubber end caps against the interior panels or window frames, not against glass alone.
- Turn the tension knob or lever clockwise until the bar locks under pressure — most bar barriers use a spring-loaded or twist-lock mechanism that clicks or resists further turning when fully seated.
- Test by pulling the bar toward you from the cargo side. Expected result: zero horizontal movement. If the bar shifts, the end caps aren't seated against a flat, solid surface.
Cargo net barrier (SUV and hatchback)
- Locate the mounting points on the vehicle's roof grab handles and rear cargo hooks — check your owner's manual if the hooks aren't obvious.
- Clip the top corners of the net to the roof handles first, then stretch the bottom corners down to the cargo hooks.
- Adjust the tensioning straps evenly on both sides so the net hangs straight, not angled toward one door.
- Expected result: the net should sit roughly vertical with no more than an inch of give when pressed from behind.
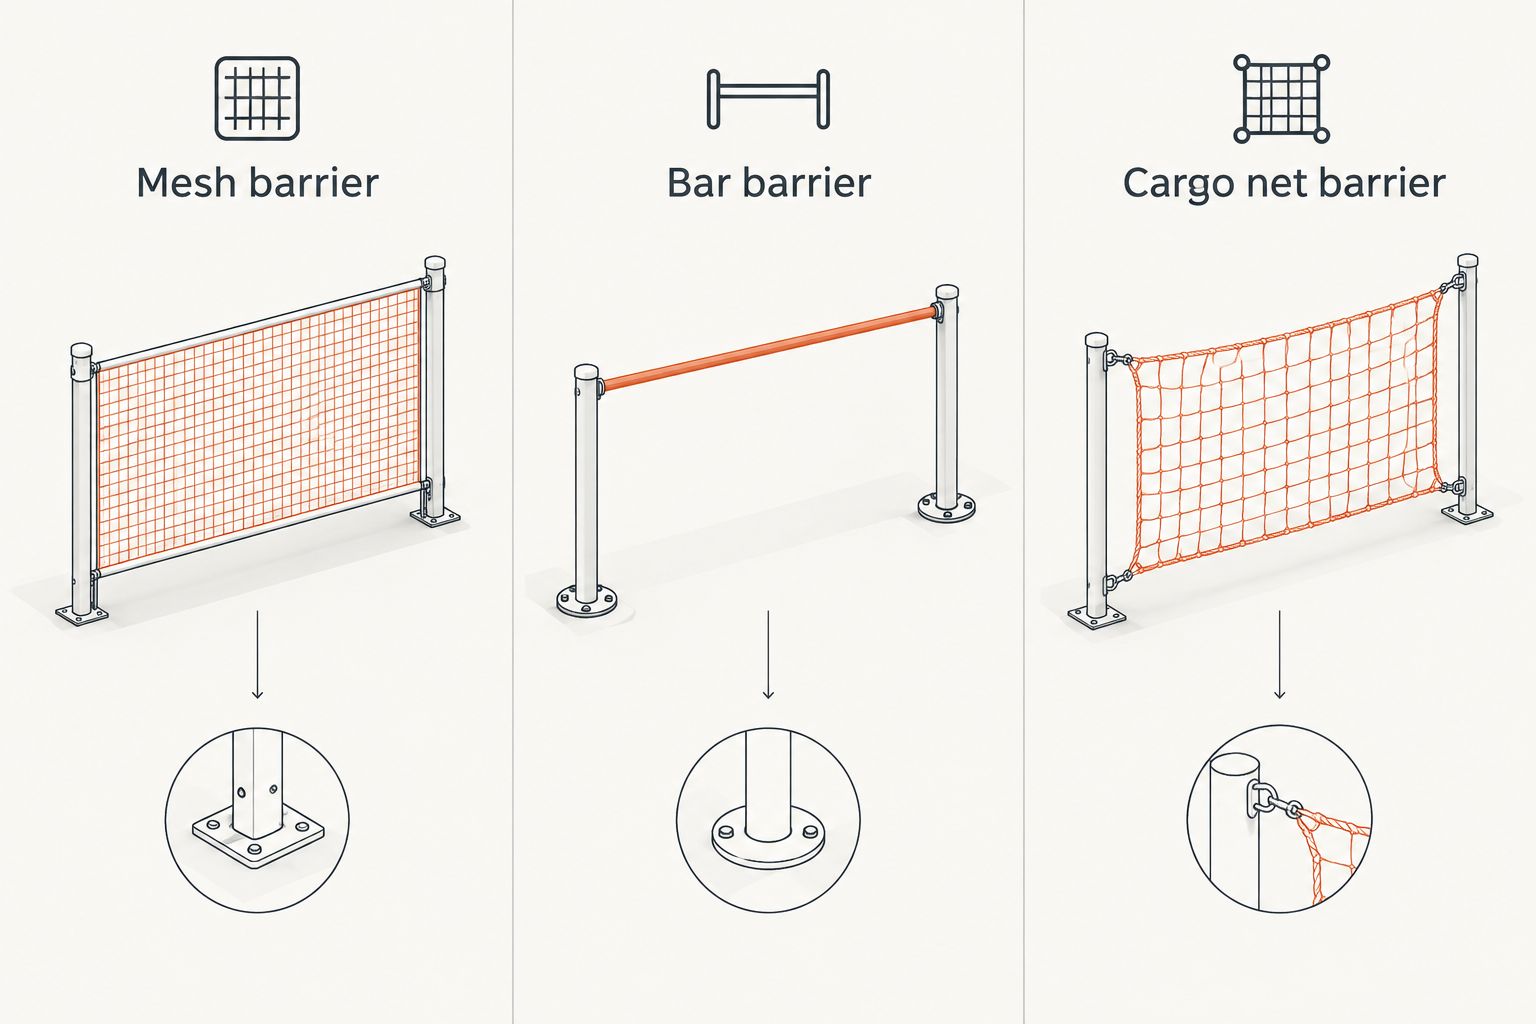
| Barrier type | Best for | Pros | Cons | Verdict |
|---|---|---|---|---|
| Mesh barrier | Sedans, small SUVs | Lightweight, folds flat for storage, adjusts to odd cargo shapes | Can sag if straps aren't retightened every few weeks | Buy for daily commuters and smaller dogs |
| Bar barrier | Midsize to large SUVs with flat cargo walls | Rigid, holds shape under pressure, no restretching needed | Doesn't fit angled or narrowing cargo areas | Buy for large or strong dogs that lean on the barrier |
| Cargo net barrier | Hatchbacks and SUVs with roof handles | Flexible fit, easy to remove for cargo-only trips | Least rigid of the three, more give under a hard stop | Hold unless your vehicle lacks bar-compatible walls |
Cargo area setup vs. backseat setup
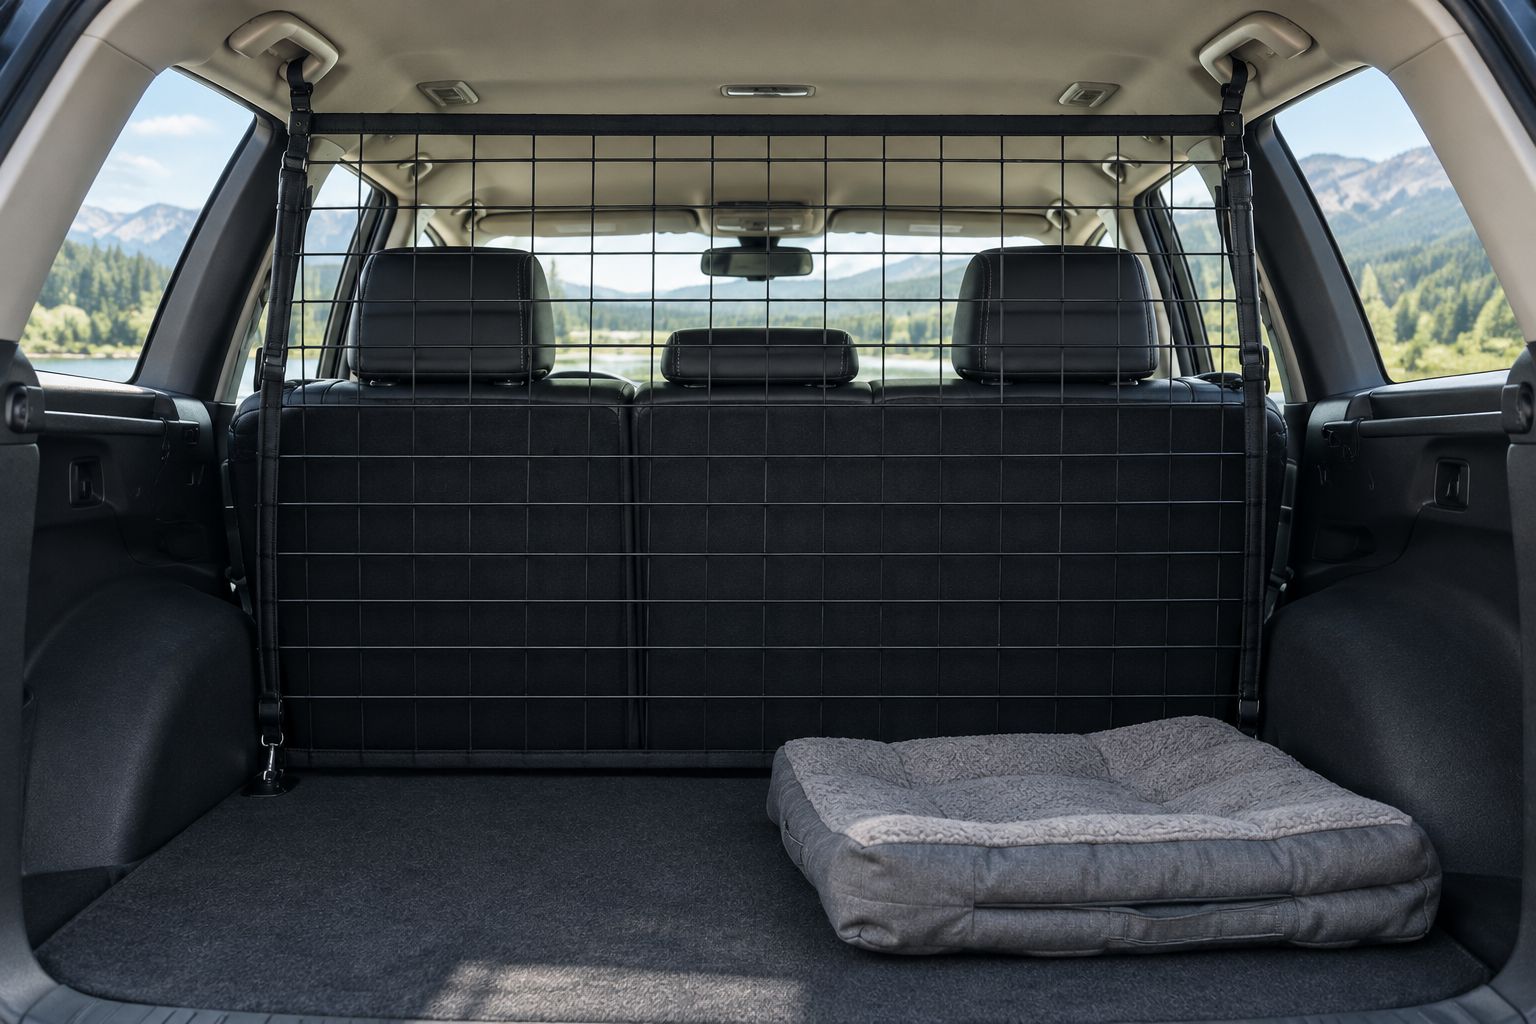
A barrier splitting the cargo area from the back seat works for one dog or dogs that settle down once loaded. If your dog paces, jumps the barrier, or you're running a two-row sedan with no real cargo section, set the barrier between the front and back seats instead — same install steps, just anchored to the front headrest posts and rear door handles rather than cargo hooks.
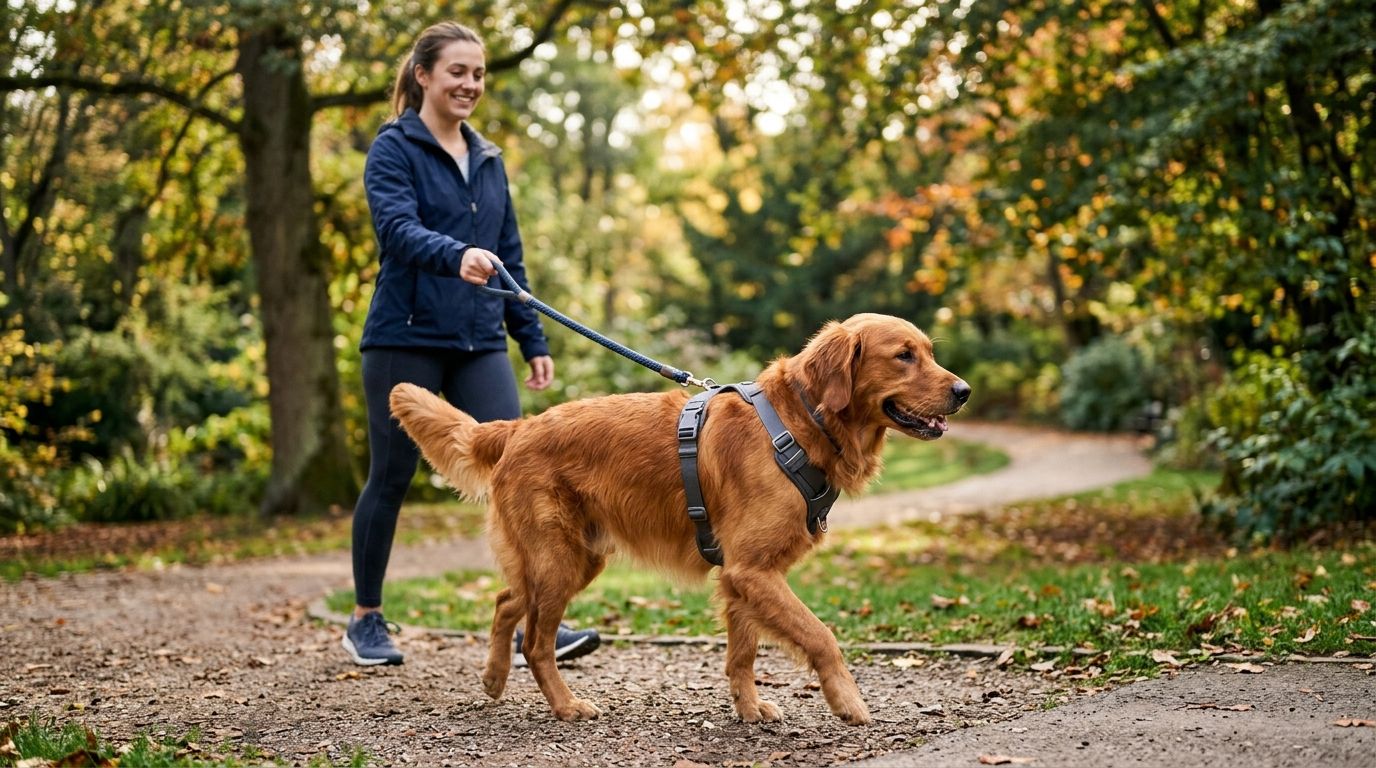
For dogs that treat any barrier as a challenge, pair it with a seatbelt harness clipped to the rear seat belt. The barrier stops forward movement toward the driver; the harness stops lateral sliding during turns. Shop and Bark's guide to no-pull harnesses for reactive dogs covers harness fit for dogs that fight restraint, which applies directly here.
Troubleshooting
- Barrier sags within a week. Straps loosen with vibration over time. Retighten monthly, and check tension every time after a full cargo load shifts things around.
- Dog pushes the barrier out of position. The anchor point is likely a headrest that slides rather than a fixed grab handle. Move the top straps to a roof handle or seatback loop if your vehicle has one.
- Bar barrier won't lock. The telescoping bar is either too short for the gap or the end caps are hitting an angled panel instead of a flat one. Extend the bar fully before locking, and reposition end caps against the flattest section of the interior wall.
- Barrier rattles while driving. Usually a symptom of under-tensioning, not a defective part — tighten straps or the tension knob until there's zero play when you push the panel from either side.
- Dog chews or claws through mesh. Mesh barriers aren't built for determined chewers. Switch to a bar barrier, which removes the material a dog can grip or bite.
Customize your setup
Once the barrier holds firm, layer in the rest of a full car safety setup rather than stopping at one component. A crash-tested harness anchored to the seat belt adds a second point of restraint, and a nonslip cargo liner keeps your dog from sliding into the barrier on turns instead of sitting still behind it.
If your vehicle has a flat cargo area and a larger dog, a barrier alone may not be enough — check whether a dog playpen sized for the cargo space gives more containment for road trips or multi-stop errands than a barrier does on its own.
FAQ
How long does dog car safety barrier installation take?
Most mesh and bar barriers install in 15 to 25 minutes with no tools required. Cargo net barriers can take slightly longer if the roof handles aren't obvious without checking the owner's manual first.
Do dog car barriers actually work in a crash?
A properly anchored barrier keeps a dog from becoming a projectile toward the front seats, but it isn't a substitute for a crash-tested harness. Pairing a barrier with a seatbelt harness gives two points of restraint instead of one.
Can I install a car barrier without drilling or tools?
Yes. Mesh and cargo net barriers use straps and clips that hook to existing grab handles, headrests, and cargo anchor points. Bar barriers use tension knobs, not screws, to lock in place.
What's the difference between a mesh barrier and a bar barrier?
Mesh barriers are lightweight and flexible, better for odd-shaped cargo areas and smaller dogs. Bar barriers are rigid and hold shape under pressure, better for large or strong dogs that lean or push against the barrier.
Will a car barrier fit any SUV or sedan?
Most barriers list a fit range in inches, and cargo width varies enough between vehicles that a universal claim doesn't guarantee a snug fit. Measure your cargo area at its narrowest point before buying.
Why does my dog keep pushing through the barrier?
This usually means the anchor points aren't rigid enough, often a headrest post that slides instead of a fixed grab handle. Reanchoring to a roof handle or seatback loop solves it in most cases.
Should I use a barrier or a harness for car safety?
Use both when possible. A barrier restricts movement toward the front seats; a harness clipped to the seat belt restricts sliding and ejection risk during sudden stops or turns.
One last thing
The barrier that fails isn't usually the cheap one — it's the correctly-rated one installed against a headrest that wobbles. Anchor point rigidity matters more than barrier price in 2026, and a five-minute push test on install day catches almost every failure before it happens on the road.